Create a folder somewhere to store your work.

Now launch Visual Studio Code, click Open Folder…

and select the folder

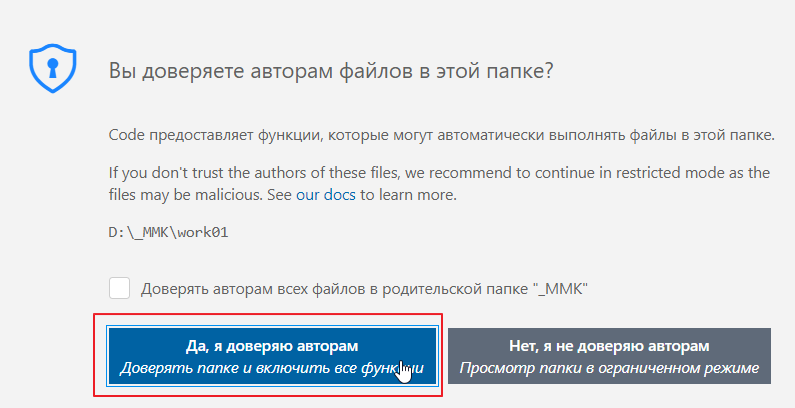
If you are asked whether you trust the folder, feel free to click Yes
Something like this will open

Let’s create an HTML file and name it test01.html

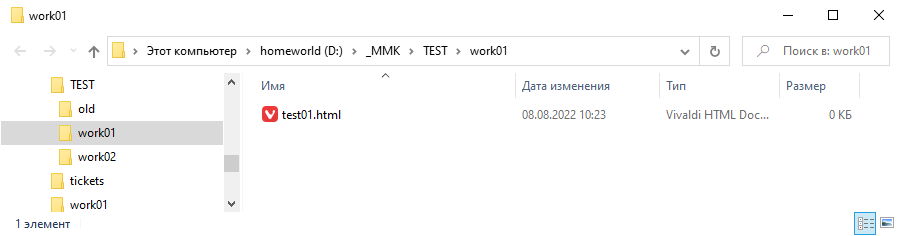
Essentially, we have created a plain text file, which is currently empty. You can open the folder in Explorer and see that the file has appeared there:
Now let’s try to run it in a browser.

Layout basics
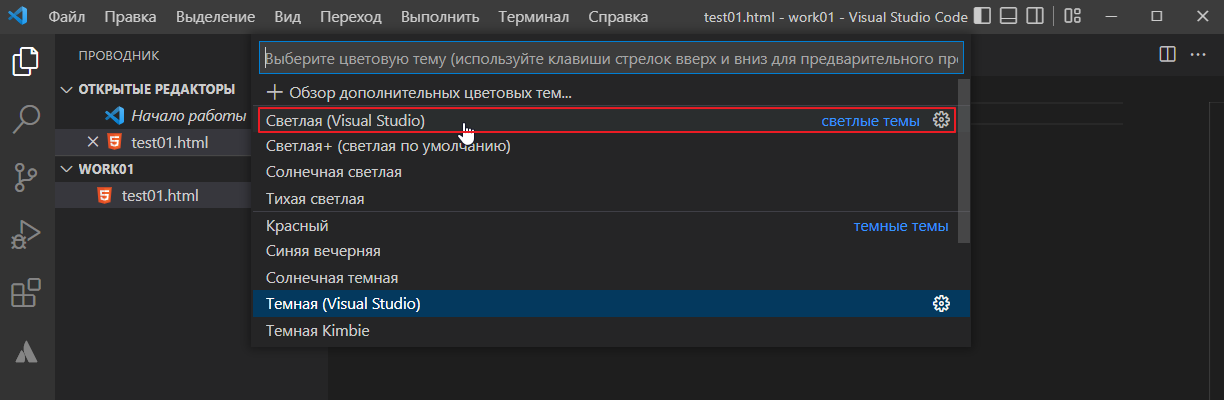
I don’t really like working in a dark theme, especially when it’s sunny, so I’ll switch themes. It’s very easy to do this in Visual Studio Code. Just click on the cog at the bottom.

A drop-down menu will open at the top, and you can select the theme you like:
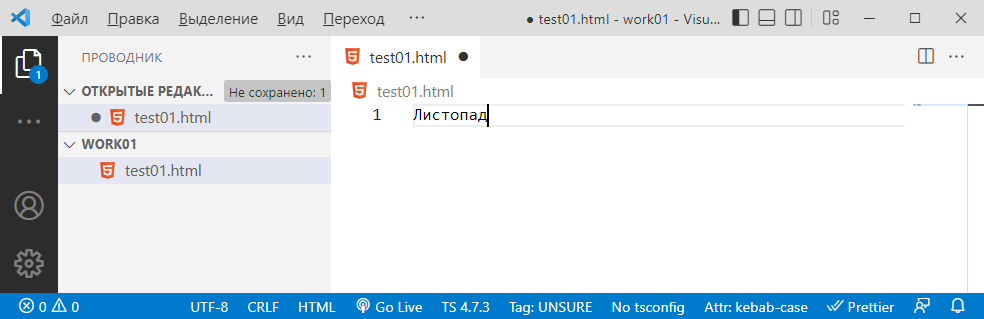
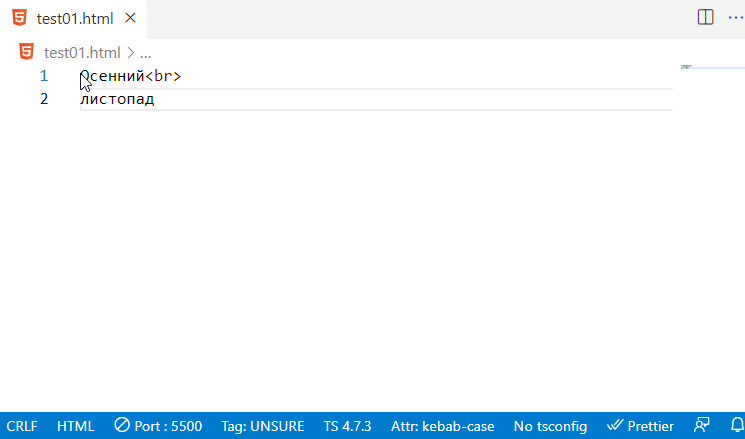
Now let’s try writing something. Open the file
right in the file
Press Ctrl+S to save the file and reload the page in your browser

We see
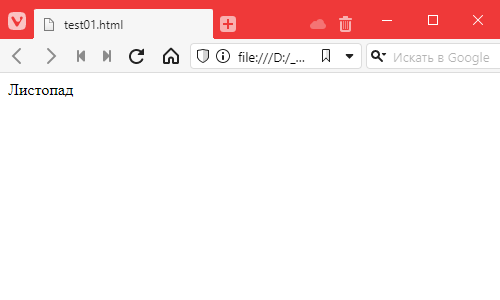
you can write a sentence

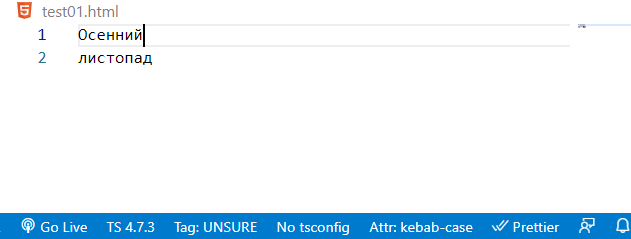
you can write it in two lines
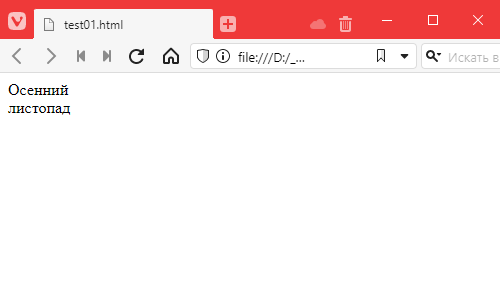
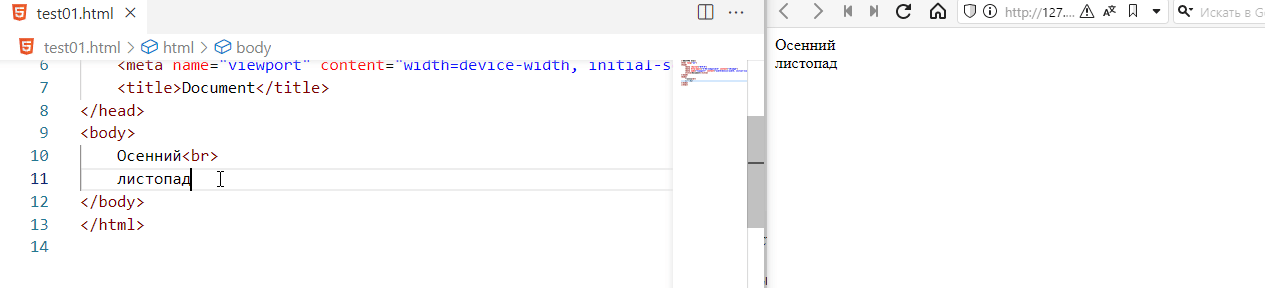
oh, something’s wrong. We wrote it in two lines, but it was displayed in one. How come?
The thing is that html, or to be more precise, the browser, ignores line breaks. And if you want to make a line break, you have to explicitly tell it to do so. This is done as follows:
Since it’s tedious to write angle brackets, you can use the Emmet plugin built into Visual Studio Code. Just write what you want inside the brackets and press ENTER or TAB.
Now everything is clear.
Optimising the development process
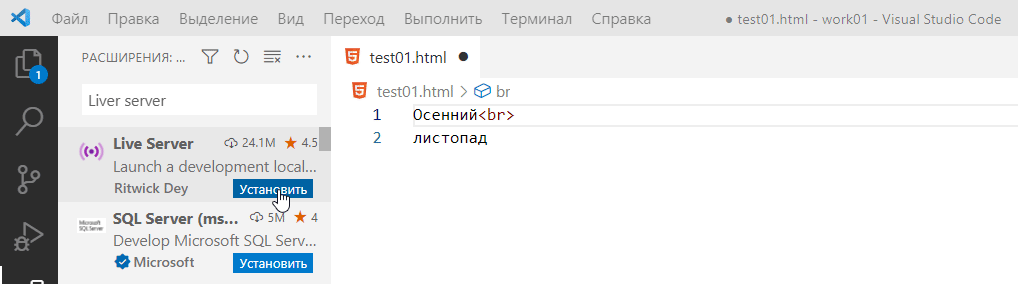
Since constantly clicking on refresh is not very fun, it makes sense to install a special plugin that will automatically do this for us every time we save a file. The plugin is called Live Server. Go to plugins:

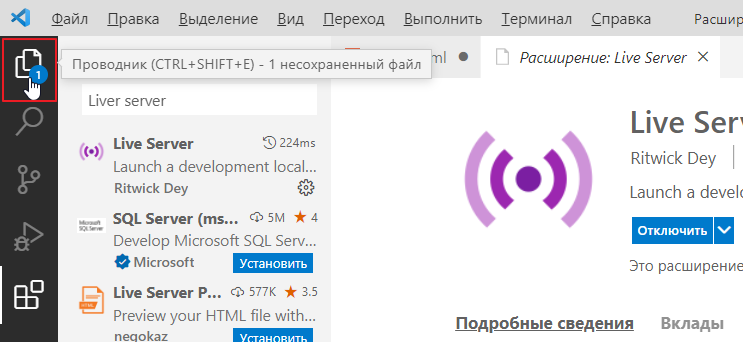
Wait for it to install
and return to the project section, where you will see all the files in our folder:
Now, to activate the plugin’s features, right-click on the file in Explorer and select:
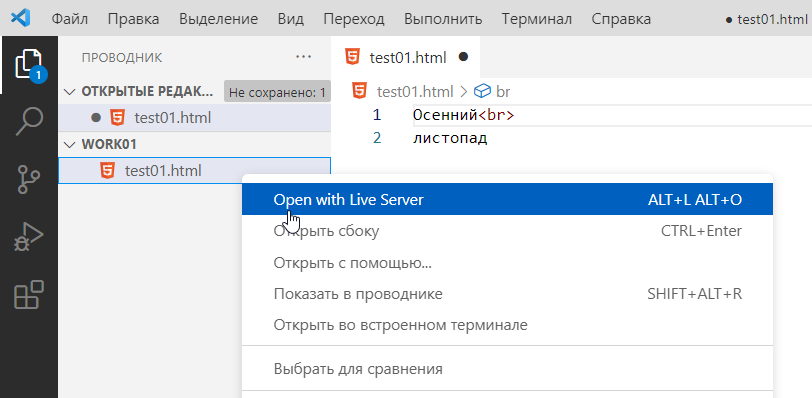
A link like this will open in your default browser http://127.0.0.1:5500/test01.html
If you need to open it in another browser, you can simply copy this link there.
Also, a message will pop up in the studio at the bottom right:
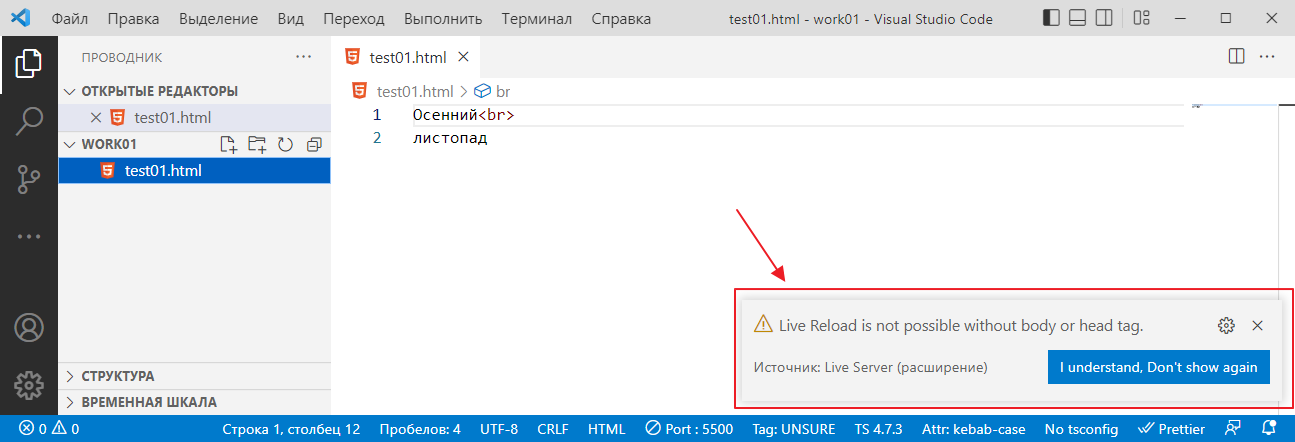
The thing is, our code is not entirely valid. Ideally, everything we write should be written inside the basic HTML markup. But we don’t have any basic markup yet.
But that’s okay. It’s very easy to add it. Write an exclamation mark and press TAB. Then insert everything we’ve already written between <body> and </body> like this
and now check the auto-reload. Just to be sure, right-click on the file name again and select Open with Live Server from the menu. And in the browser where the link http://127.0.0.1:5500/test01.html was opened, reload it just in case
Let’s check how it works:
I just clicked Save in Visual Studio Code and it updated the browser itself! Awesome! =)
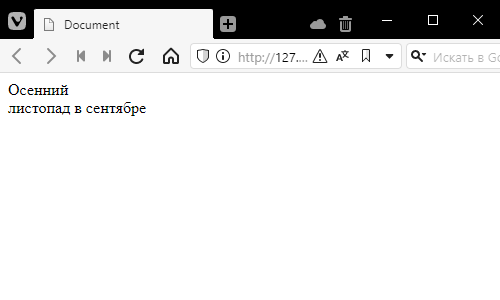
Adding spaces
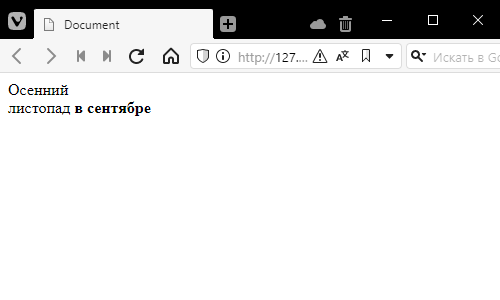
By the way, in addition to line breaks, HTML ignores more than one space, which means you can do
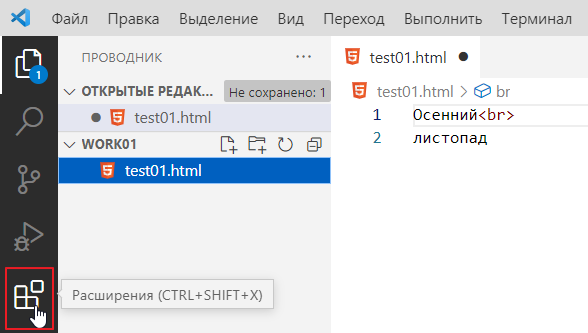
Autumn<br>
leaf fall in September
it will still be displayed as
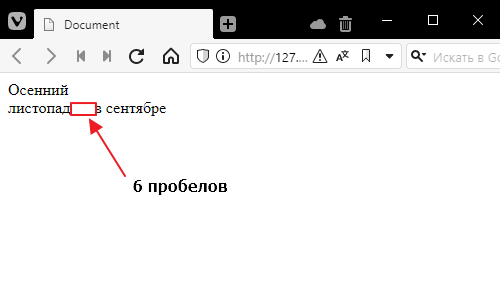
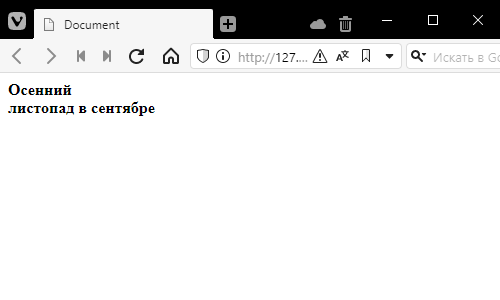
In cases where you really want more than one space, use special constructs beginning with the ampersand &
Autumn<br>
leaf fall               in September
is an explicit instruction to ‘insert a space’ (No-Break Space). Here, I inserted four of them.
However, it is not recommended to do this in nature, and people who do so are generally not very well liked… but sometimes it comes in handy =)
In general, there are other ways to add spaces, but more on that later.
This thing that looks like <br> is called a tag. Most tags come in pairs.
That is, there is an opening tag, tag content, and a closing tag. For example, I can explicitly highlight a piece of text in bold:
Autumn<br>
leaf fall  <strong>in September</strong>
So
<strong> – opening tag- in September – content
</strong> – closing tag, looks like an opening tag but with a forward slash before the name
No one forbids inserting tags inside other tags. That is, for example, I can highlight the entire text in bold and leave a line break inside
<strong>Autumn<br>
leaf fall in September</strong>
It is much nicer to write it like this:
<strong>
    Autumn<br>
    leaf fall in September
</strong>
We get this:
In general, there is a gentleman’s set of tags for formatting code that everyone should know.
But in reality, they are only used when there is no time to bother with styles. Plus, sometimes for semantic layout. Here they are:
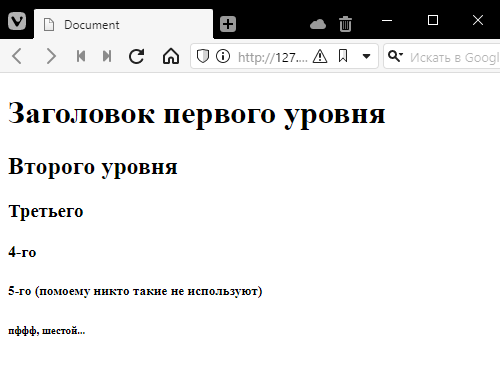
Headings
<h1>First level heading</h1>
<h2>Second level</h2>
<h3>Third</h3>
<h4>Fourth</h4>
<h5>Fifth (I don't think anyone uses these)</h5>
<h6>Pfff, sixth...</h6>
Try writing the tags yourself, like typing h1, pressing TAB, and writing something inside.
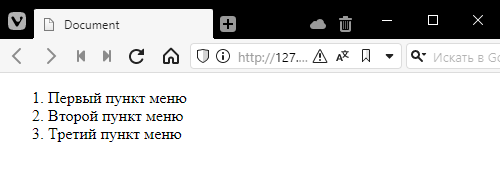
Numbered list
This is a combined tag. It has an opening tag ol (from ordered list), inside which nested li tags (from list item) are written.
<ol>
    <li>First menu item</li>
    <li>Second menu item</li>
    <li>Third menu item</li>
</ol>
It adds the numbers itself:
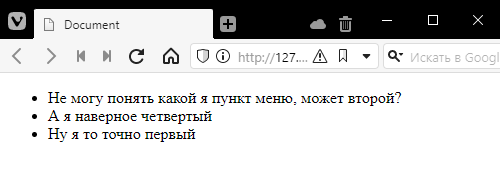
Unordered list
Same as above, but without numbers, and the tag is called ul (unordered list)
<ul>
    <li>I can't figure out which menu item I am, maybe the second one?</li>
    <li>And I'm probably the fourth one</li>
    <li>Well, I'm definitely the first one</li>
</ul>
draws dots instead of numbers
For text formatting
<strong>I was just sitting in self-isolation</strong>
<br>
<em>Help, I'm falling LLC</em>
<br>
<u>I'm walking on rails</u>
<br>
<strike>I changed my mind about writing something here</strike>
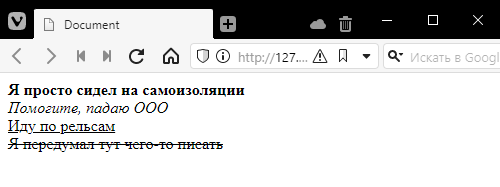
Note that I am inserting br tags here so that each element is on a new line.
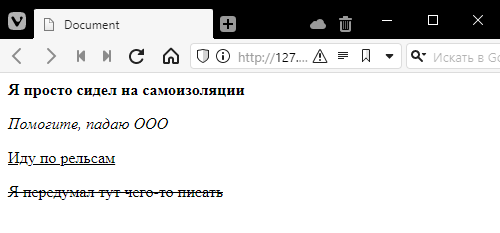
By the way, the p tag is often used instead of br.
If br is a line break, then p is the beginning of a new paragraph
<strong>I was just sitting in self-isolation</strong>
<p>
<em>Help, I'm falling LLC</em>
<p>
<u>I'm walking on the rails</u>
<p>
<strike>I changed my mind about writing something here</strike>
The paragraph has stronger indents at the top and bottom.
So, we already have the basis for writing something. Now try to complete the task.
Task
Given text
Песенка про елочку В лесу родилась ёлочка, В лесу она росла. Зимой и летом стройная, Зелёная была. Метель ей пела песенку: - «Спи, ёлочка, бай-бай!» Мороз снежком укутывал: - «Смотри, не замерзай!» Теперь я умею Использовать заголовочные теги h1, h2 etc. Выделять цвет жирным шрифтом через strong Выделять цвет наклонным шрифтом через em Использовать разрывы строк br и абзацы p
layout it as in the picture [added a few clarifications to make it easier]
