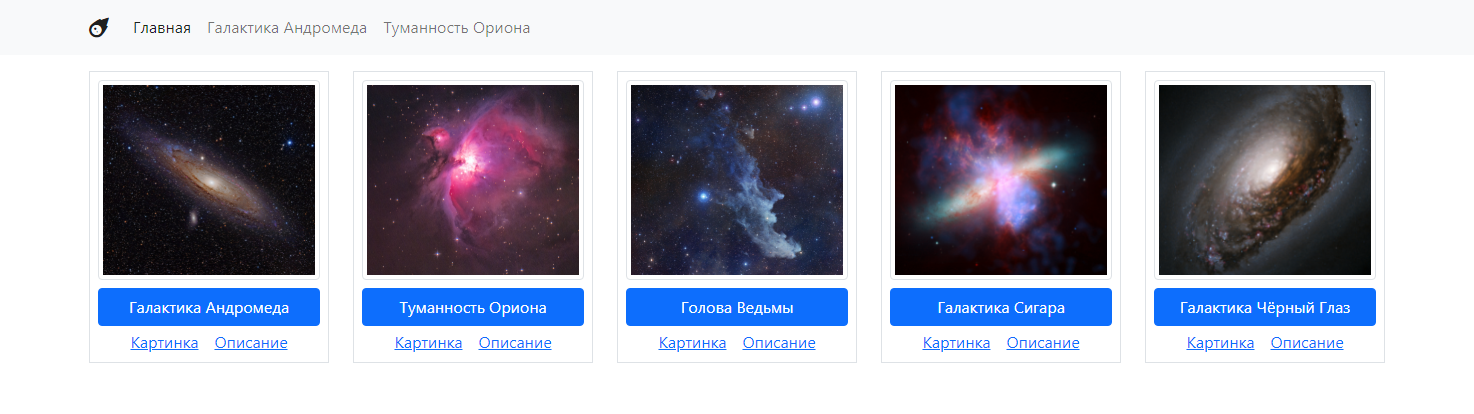
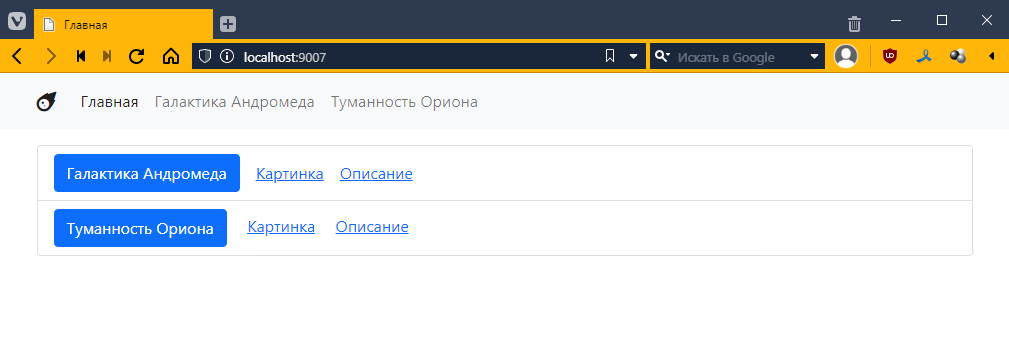
Revise the application so that the list on the main page is generated based on data from their database.
For now, just add links with empty href. Add an image. Rerun it on Flex to make it look something like this:
CRUD is an acronym for Create-Read-Update-Delete. It refers to a set of standard operations that can be performed on data.
In the previous lab, we brought the system to a state where we clearly distinguished controllers and views, i.e., the letters VC from the abbreviation MVC. Now we need to get the model, i.e., the data, from somewhere.
So, in addition to PHP, Laragon also has MySQL built in, i.e., a database management system (DBMS).
A database is actually just a file or folder with files in which data is stored in a special way.
A management system is a special program that can access this database and extract data from it.
The management system also has all kinds of additional information about the data, such as which data is used most often, various access checks, and other things that expand the possibilities for data manipulation.
Here we will create a simple database with one table, into which we will put several objects. These are the same objects we worked with before. Only there, everything was written in files, and here we will store it in a database. For me, these are Andromeda and Orion.
But in order to make all our data manipulations more convenient, let’s first install phpMyAdmin. This phpMyAdmin is simply a web application written in php, from which you can conveniently manage the database.
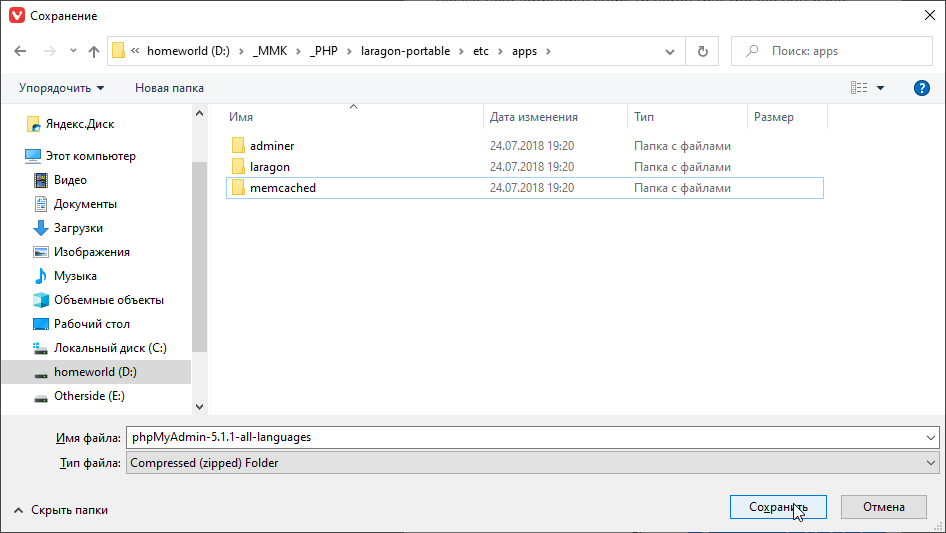
Go to the website https://www.phpmyadmin.net and download
Save it to the /etc/apps folder:
and unpack it:
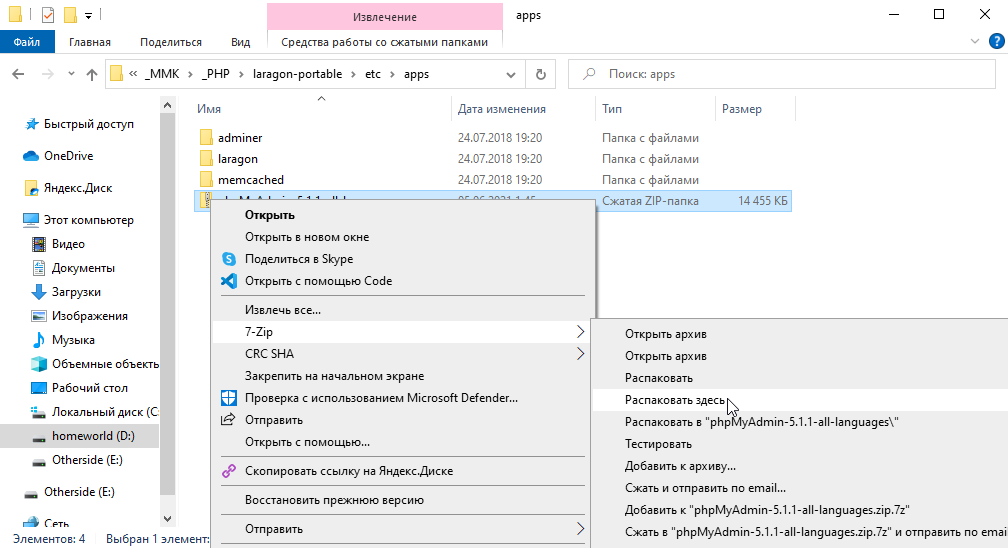
then rename it
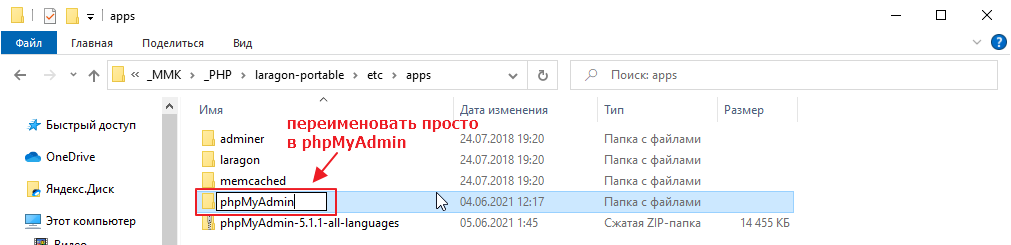
Now you can go to http://localhost/phpMyAdmin/ and see:

but we won’t go inside yet, as the database is not configured.
First, let’s deal with MySQL. Laragon has a very outdated version built in, which phpMyAdmin can no longer work with.
On the other hand, if you try to update MySQL, a more or less adequate version weighs about 800MB, which is obviously too much.
Therefore, we will use an alternative to the MySQL DBMS called mariadb. It is fully compatible with MySQL and is developed as a completely free, open-source alternative to MySQL. It is often included in various Linux distributions by default.
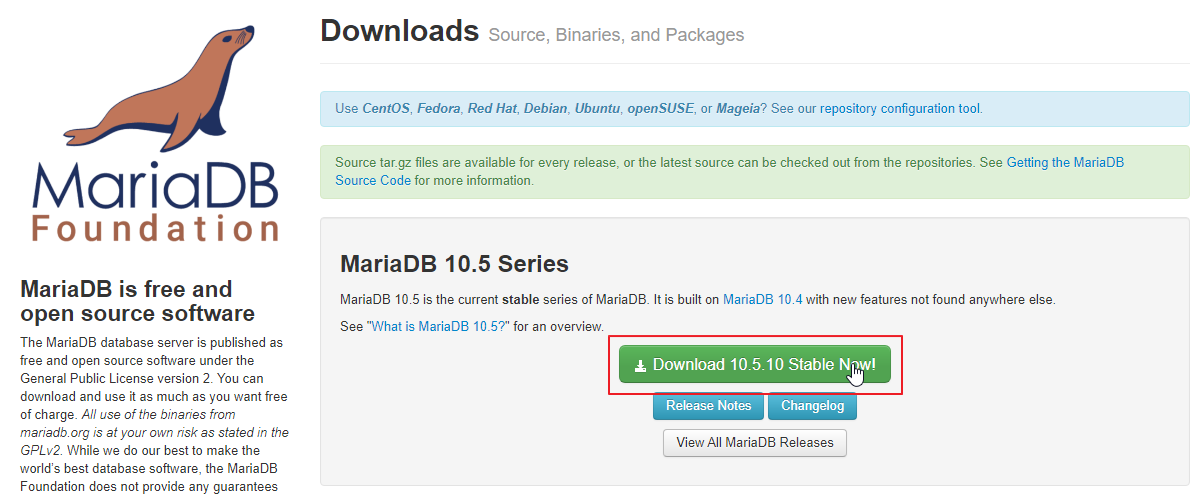
In general, go here https://downloads.mariadb.org and click download
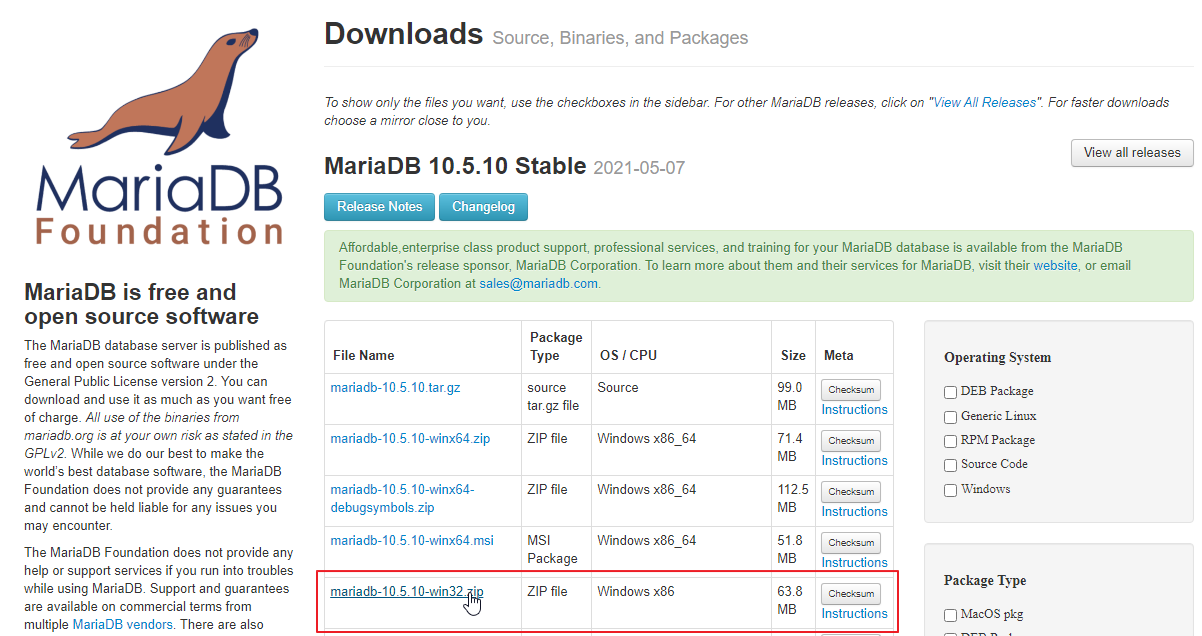
select the zip archive
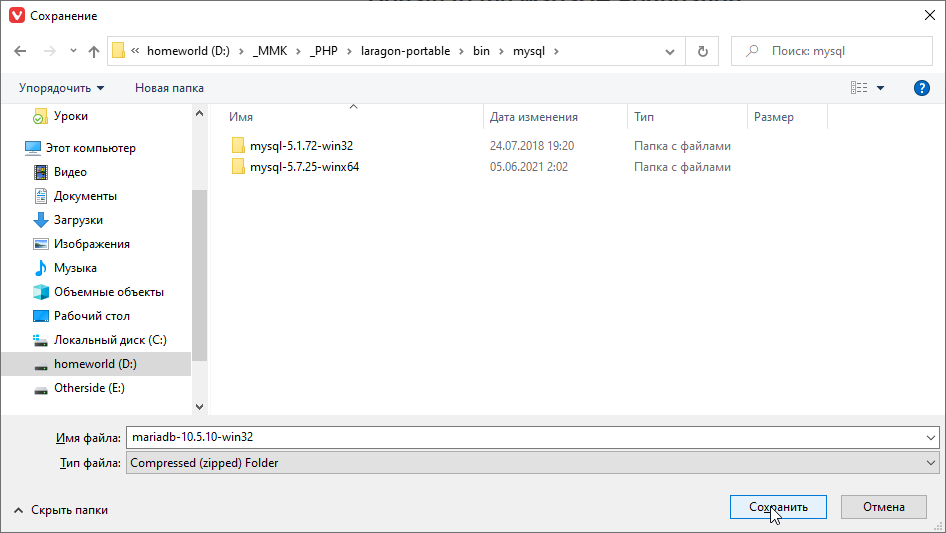
and save it to a folder
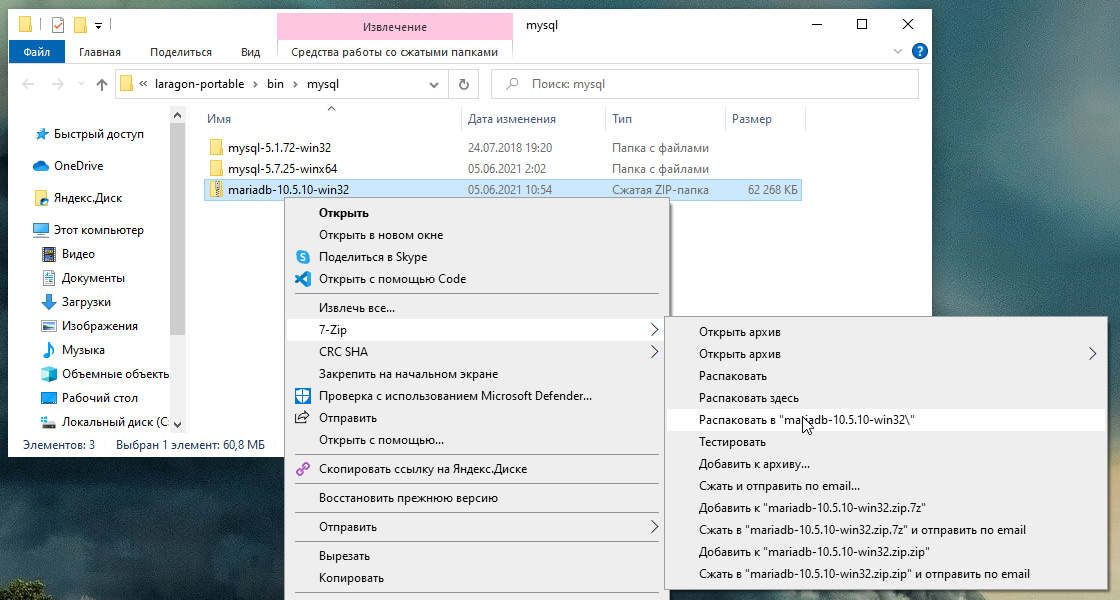
unzip it
Then stop Laragon
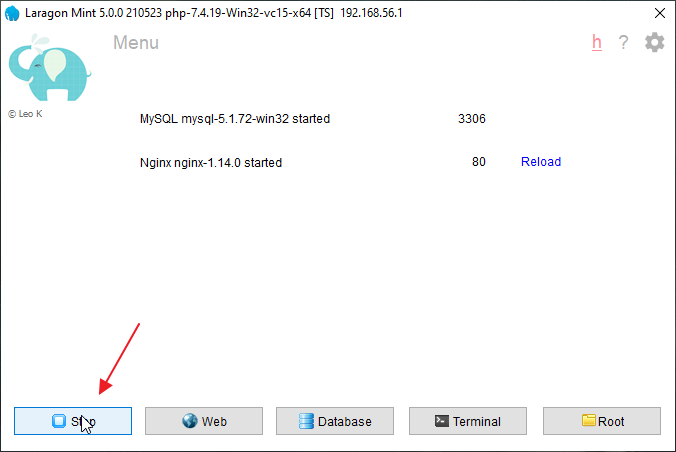
Switch mysql to mariadb
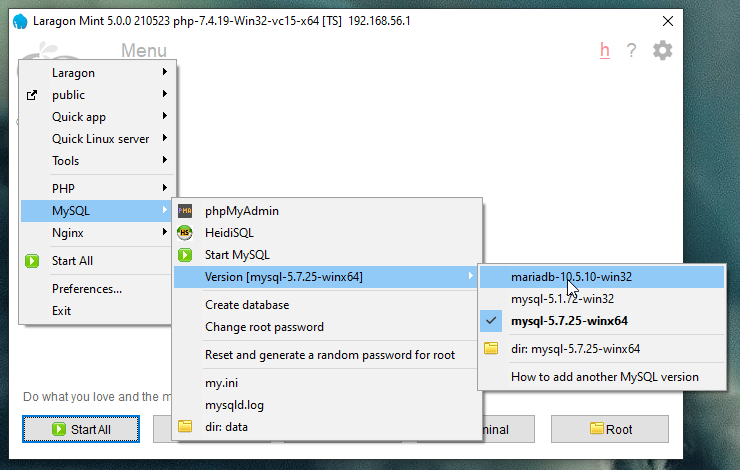
And start everything back up.
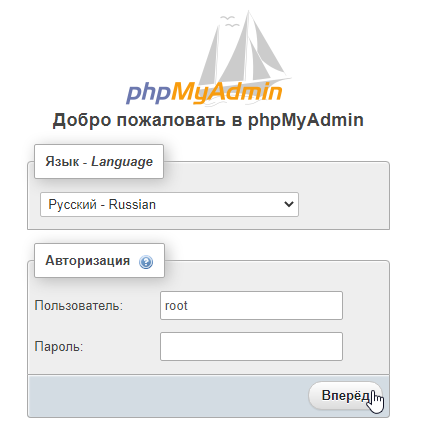
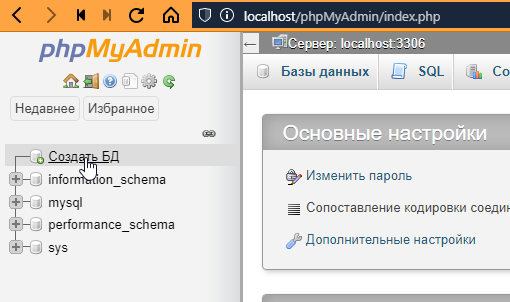
Now you can actually log in via phpMyAdmin. Go here http://localhost/phpMyAdmin/
and enter your login details (username: root, password: blank):
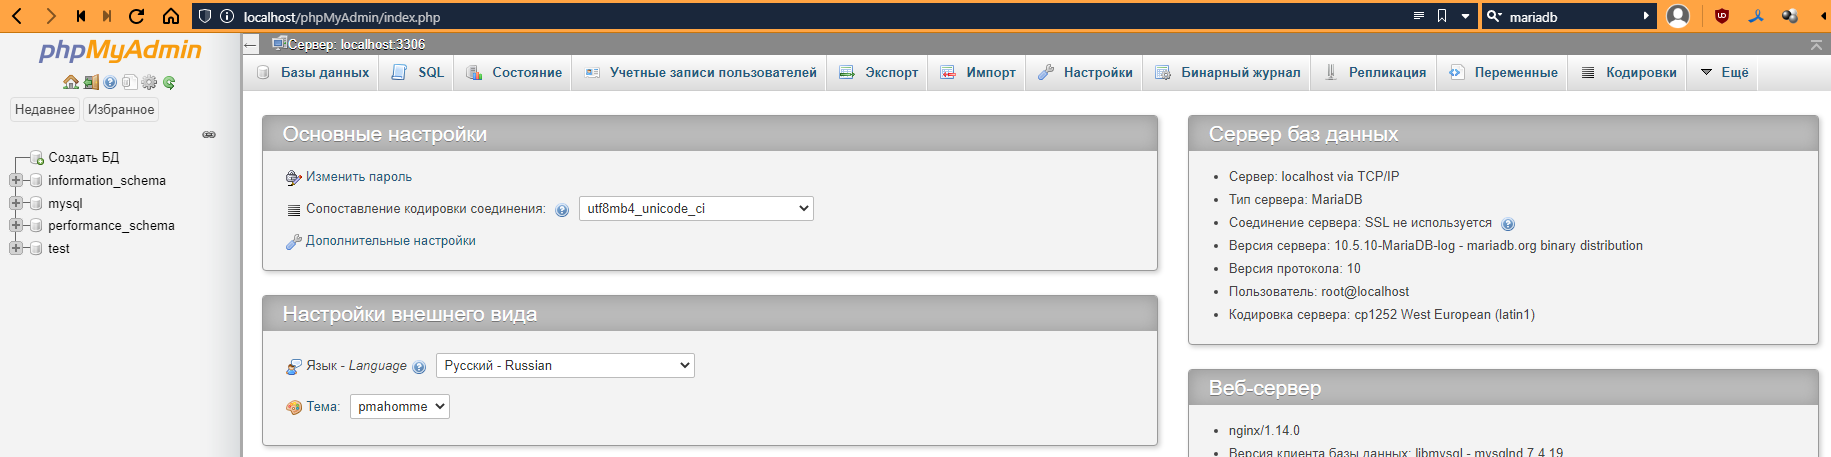
and see this:
Click on “Create Database” on the left.
Enter the name of the database (I will call it “outer_space”) and select the encoding “utf8mb4_unicode_ci.” Why this one? You can read about it here: https://ru.stackoverflow.com/questions/757733/
That’s it, click Create:
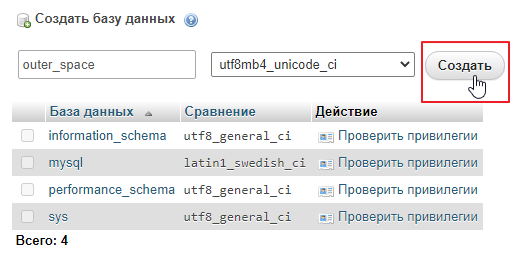
We will be notified that the database has been created. Now let’s add a table to it.
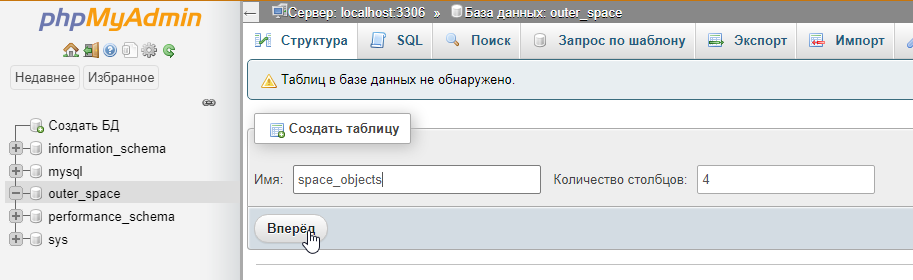
The number of columns does not really matter, as you can always add new ones or remove unnecessary ones later.
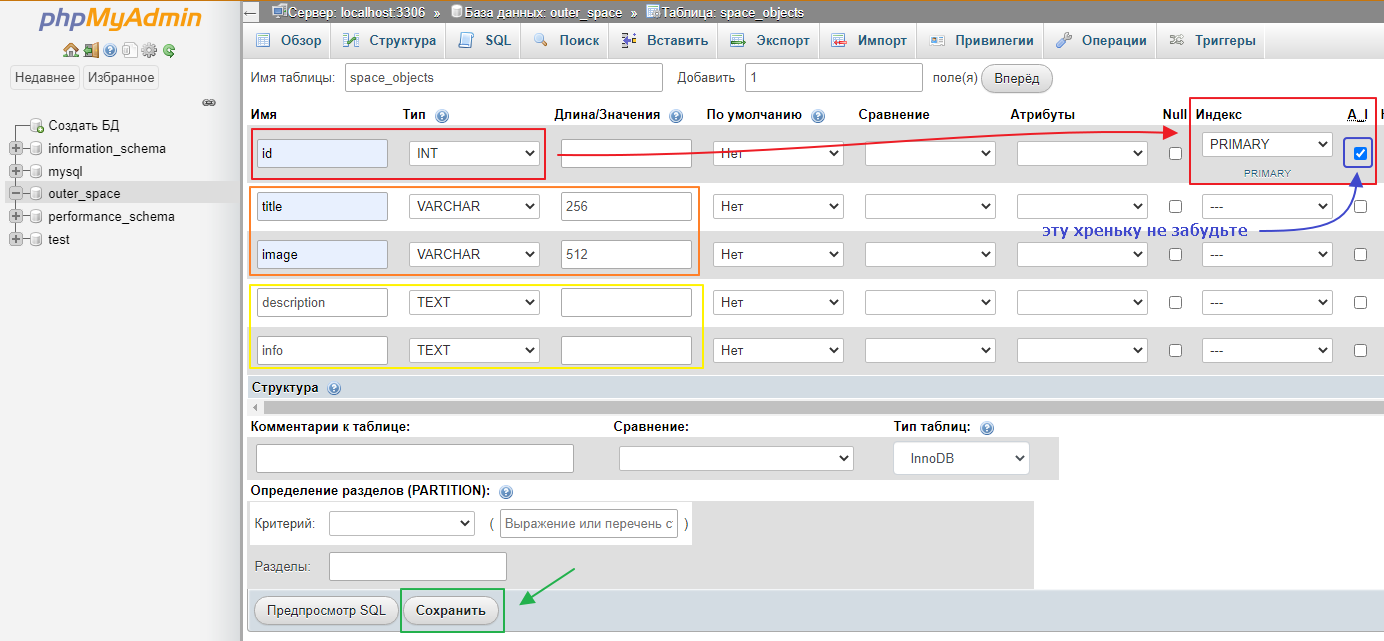
In general, when you have entered everything, you can click “Save” and start filling it in:

Enter the data and click “Next.”
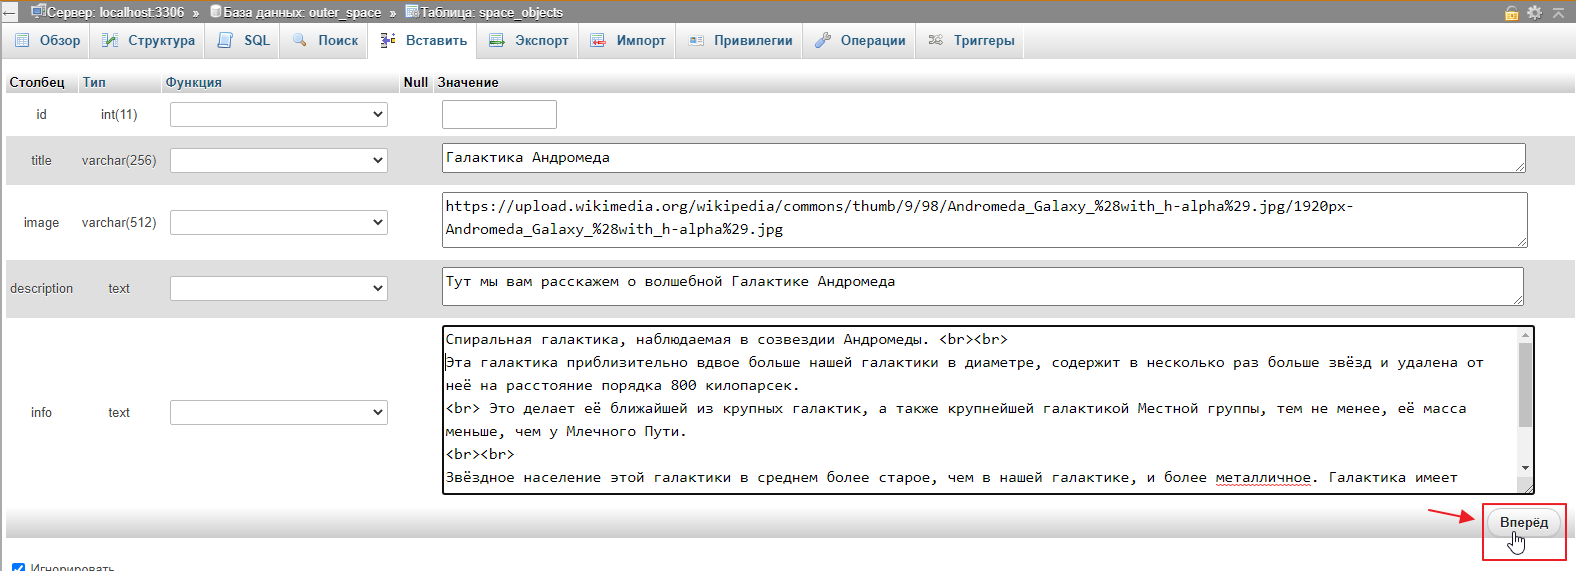
We get this result
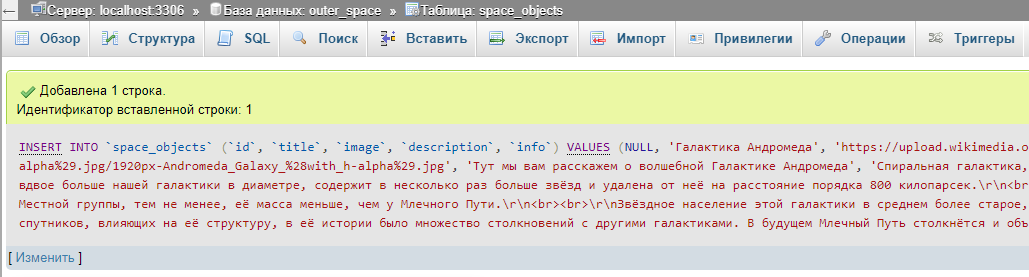
Click Insert again and repeat the procedure. In principle, 5 items will be enough for us:
A special PDO class is built into PHP for communicating with databases.
It can be used to connect to most popular databases and execute various queries.
To start communicating with the database, you need to create a connection. This is very easy to do. Go to index.php and write:
<?php
// ...
$controller = new Controller404($twig);
// create an instance of the class and pass the connection parameters to it
// creating the class automatically opens the connection
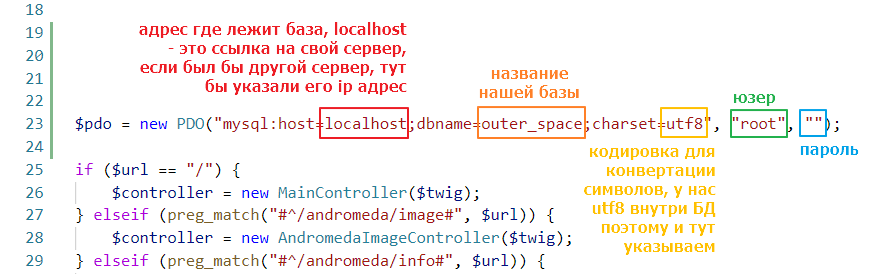
$pdo = new PDO("mysql:host=localhost;dbname=outer_space;charset=utf8", "root", "");
// leave the rest as is
if ($url == "/") {
$controller = new MainController($twig);
} elseif (preg_match("#^/andromeda/image#", $url)) {
// ...
The meanings of the values are as follows:
Let’s try to open the main page. If nothing has changed there, it means we connected successfully:
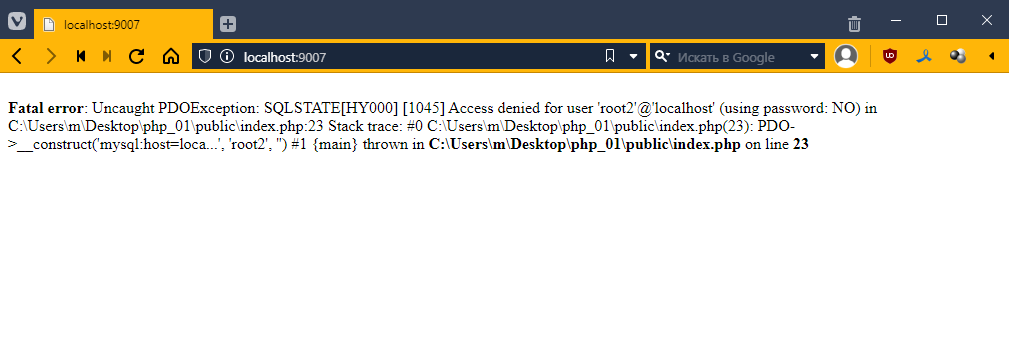
If the connection doesn’t work, we’ll see some kind of error, and then we’ll have to figure out what’s going on
In general, we believe that everything is OK.
To be able to access the database from the controller, let’s add the $pdo field and a setter for it to BaseController
<?php

abstract class BaseController {
    public PDO $pdo; // added a field

    public function setPDO(PDO $pdo) { // and a setter for it
        $this->pdo = $pdo;
    }
    // leave the rest untouched
    public function getContext(): array {
        return [];
    }

    abstract public function get();
}
and now let’s add a call to this method before calling get
<?php
// ...

// leave this alone
$pdo = new PDO("mysql:host=localhost;dbname=outer_space;charset=utf8", "root", "");

if ($url == "/") {
    // ...
}

if ($controller) {
    $controller->setPDO($pdo); // and here we pass PDO to the controller
    $controller->get();
}
Let’s try to display data from our table on the main page. Go to MainController
<?php
require_once "TwigBaseController.php";

class MainController extends TwigBaseController {
    public $template = "main.twig";
    public $title = "Home";


    // add the getContext() method
    public function getContext(): array
    {
        $context = parent::getContext();

        // prepare the SELECT * FROM space_objects query
        // it is generally not recommended to use an asterisk, but it will work for the first time
        $query = $this->pdo->query("SELECT * FROM space_objects");

        // Fetch data using fetchAll() and save the result in the context
        $context["space_objects"] = $query->fetchAll();

        return $context;
    }
}
Now let’s go to main.php and see what ended up in space_objects. Let’s add this there:
{% block content %}
<pre>
{{ dump(space_objects) }} <!-- added data output -->
</pre>
<ul class="list-group">
    <!-- ... -->
</ul>
{% endblock %}
However, if we run the page now, we will see an error
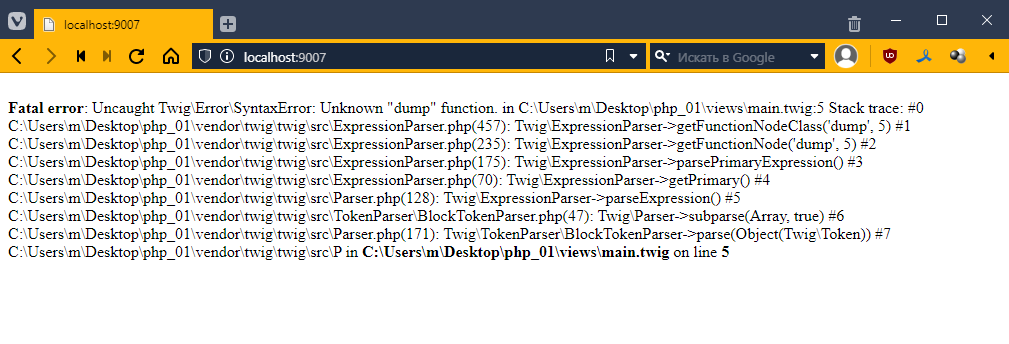
The thing is, Twig has a debug mode, which is disabled by default and only available if you enable it manually. And the special dump function is only available in this mode.
Therefore, we need to enable it first. This is quite simple to do. Go to index.php
<?php
// ...

$url = $_SERVER["REQUEST_URI"];

$loader = new \Twig\Loader\FilesystemLoader("../views");
$twig = new \Twig\Environment($loader, [
    "debug" => true // add debug mode here
]);
$twig->addExtension(new \Twig\Extension\DebugExtension()); // and activate the extension
refresh the page
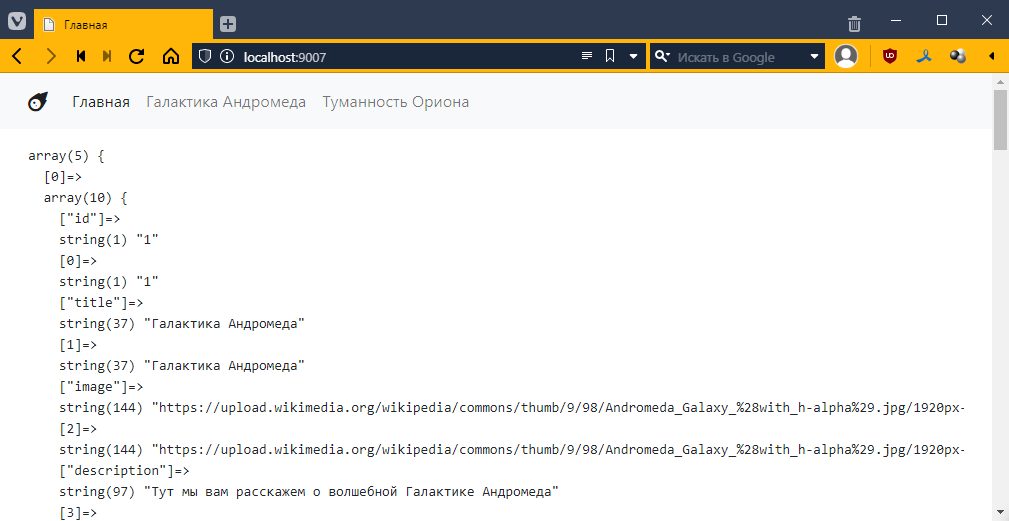
oh! the data is there! =)
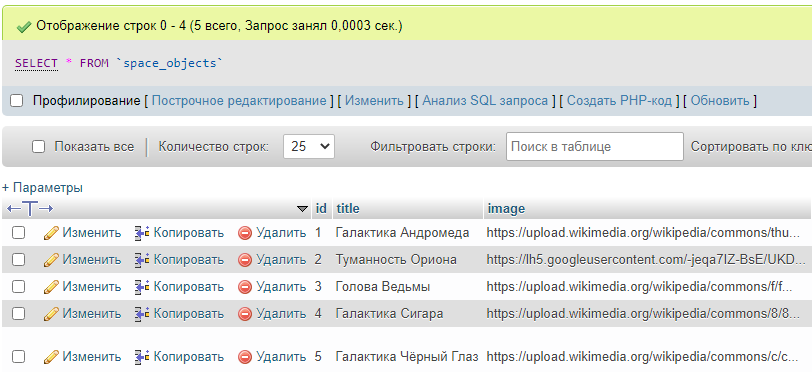
Generally, if we look at it, we will see:
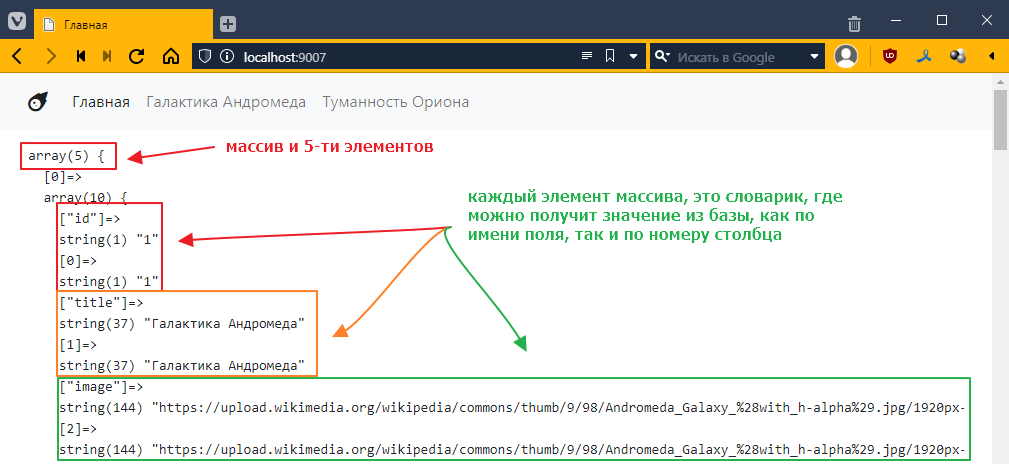
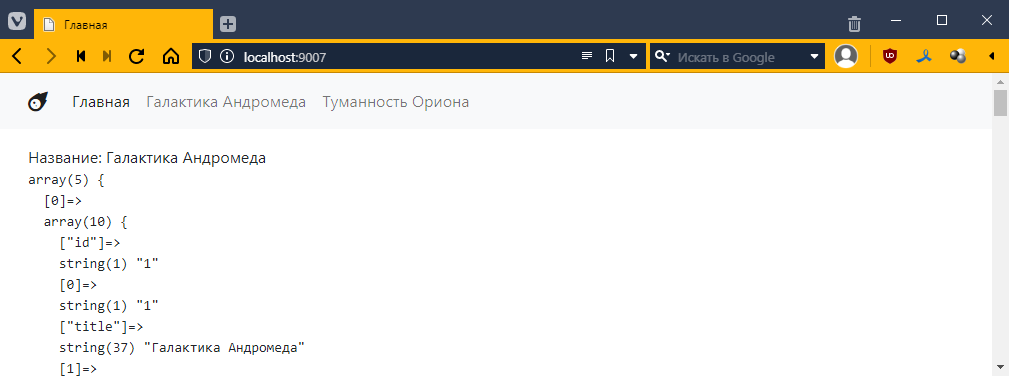
Let’s display the name of the first element:
{% extends "__layout.twig" %}

{% block content %}
Title: {{ space_objects[0].title }}

<!-- ... -->
The result will be as follows:
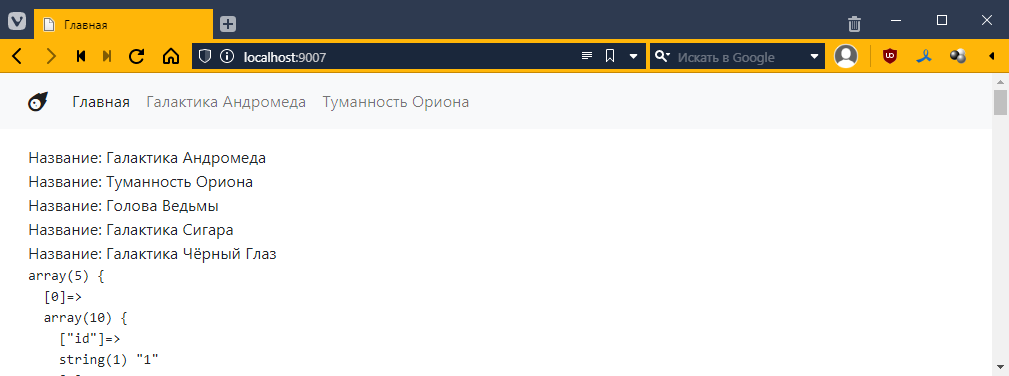
However, since we requested a list of objects, it makes sense to display all elements, using the familiar for loop:
{% extends "__layout.twig" %}

{% block content %}

{% for object in space_objects %}
    Title: {{ object.title }} <br>
{% endfor %}

<!-- ... -->
And then we get this:
Well, I think the idea is clear, now we can do the task =)
Revise the application so that the list on the main page is generated based on data from their database.
For now, just add links with empty href. Add an image. Rerun it on Flex to make it look something like this: