We connect the Twig template engine to work with markup more competently.
Let’s continue along the path of PHP application development.
Modern web applications are very sensitive to code organization.
PHP was primarily criticized for the fact that it does not separate layout from code, and as the complexity of the application grows, it turns into a mess.
To solve this problem, it was decided that PHP files should contain only code. And the markup should be stored separately somewhere else.
Let’s try to do this.
Let’s create a new project.
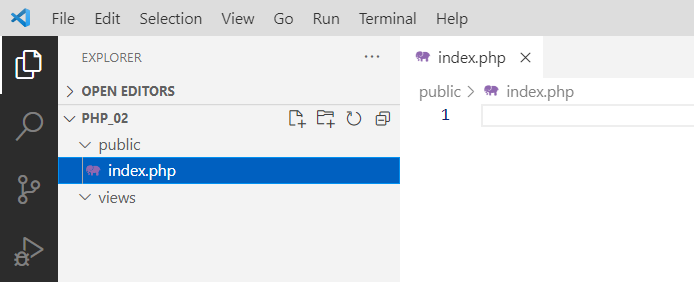
That is, two folders: public and views. The views folder is empty, and the public folder contains our entry point, index.php.
We are creating this project purely for the purpose of understanding. Later, we will need to return to the previous one. So, do not delete it under any circumstances. You will have to repeat everything we are doing here on it.
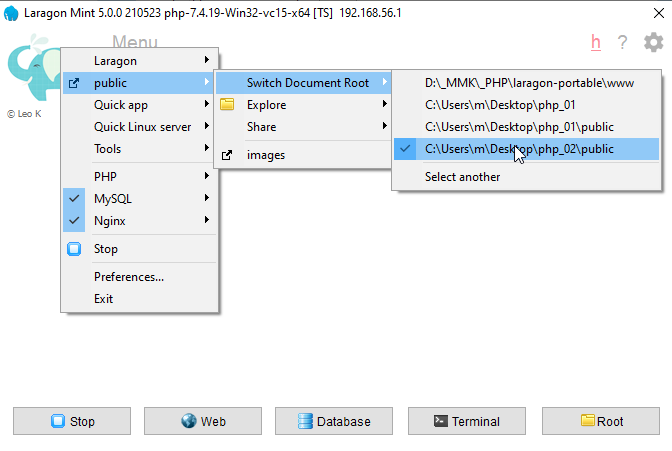
Switch to the new project
So, we decided that there should be no layout in php files. This means we will put the layout in the views folder and use simple html files.
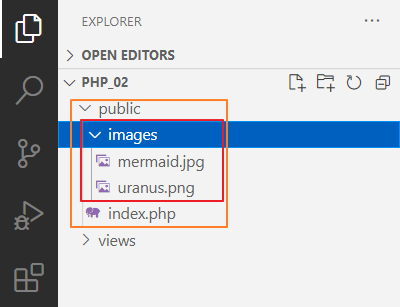
Let’s take the images mermaid.jpg uranus.png and put them in the images folder
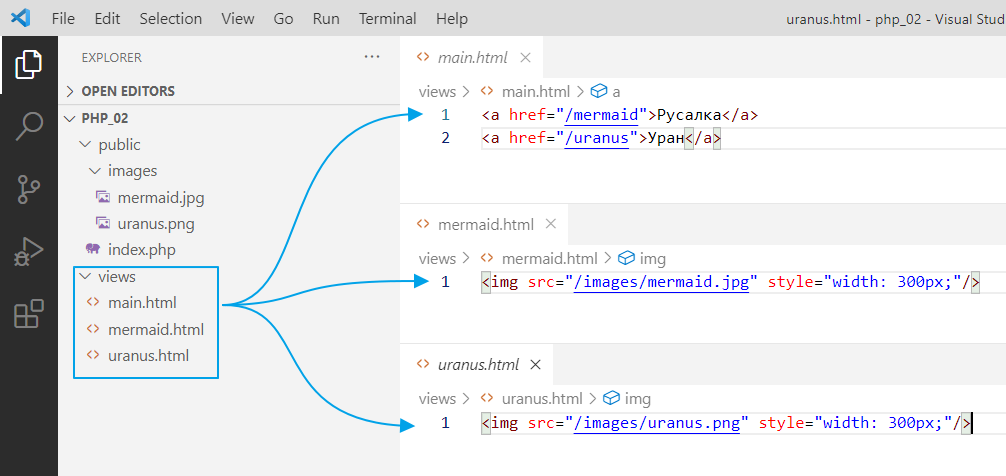
And we’ll make the files
And everything seems to be fine. Separate files, separate code.
But now another problem arises. How can I make navigation so that I write less code? Or how can I, for example, transfer data to an html file and have it processed, but without having to write php code?
In general, to solve this problem, so-called Templates engines were invented, that is, template engines in Russian.
In addition to simplifying the writing of dynamic elements (such as adding the active class in the previous task), template engines also add the ability to build a hierarchy of templates, i.e., to implement inheritance.
For example, you have a basic page template that includes navigation, a block for general content, and a footer. Now you want to create a news page. You simply create a file, specify that you are inheriting from the basic template, and redefine the display of the content block. And that’s it!
Twig
We will use one of the most popular template engines, namely Twig https://twig.symfony.com.
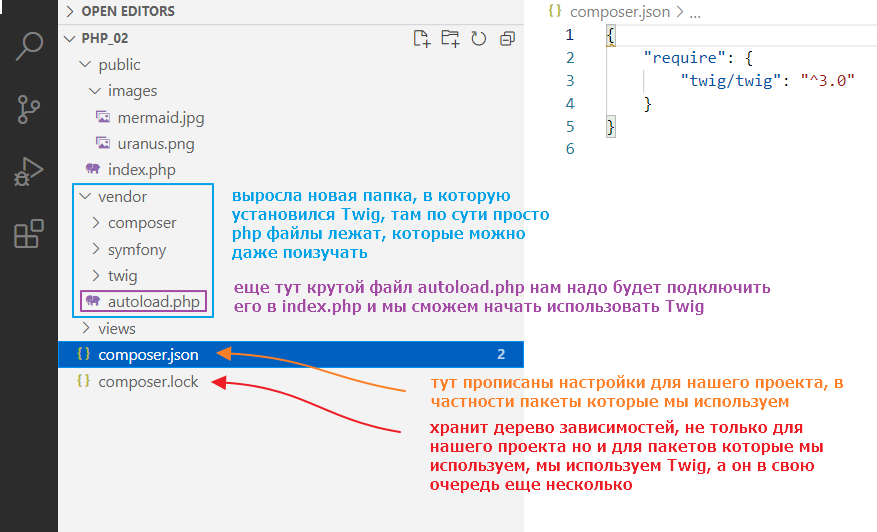
To start using it, you must first install it. A special utility called composer is used to install additional packages in PHP. It downloads additional libraries from the Internet and places them in the vendor folder.
In general, we click on Terminal.

This will launch the console with the configured environment variables.
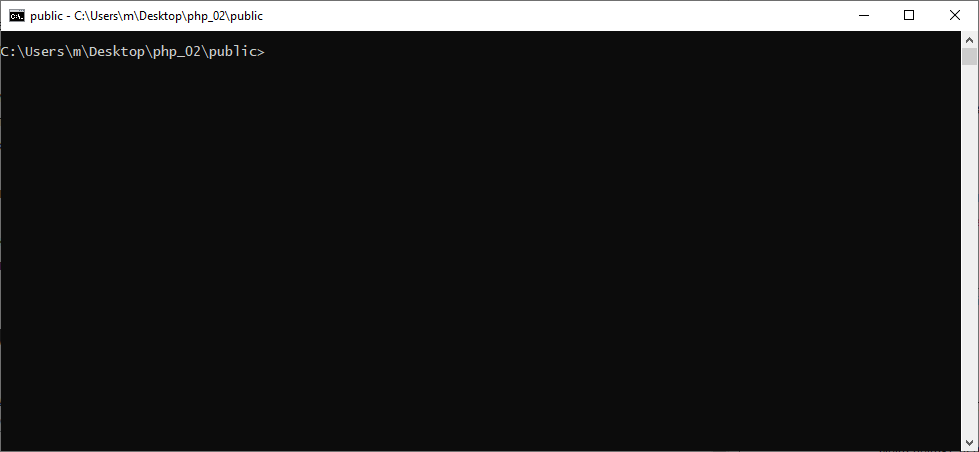
There is an important point here: the path written in this line must correspond to the folder where your project is located.

If for some reason there is a different path there, you need to go to the folder with your project in the console.
To do this, find the folder with your project. Copy the path to this folder
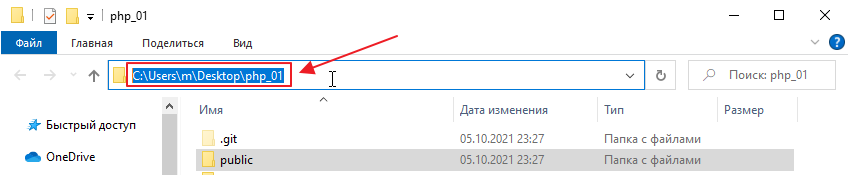
and enter the command in the console
cd P:\path\to\folder\with\your\project
In my case, it will be
cd C:\Users\m\Desktop\php_01
Now you can try typing composer and see what it outputs:

Here is some information on how to manage the library, in case anyone finds it useful
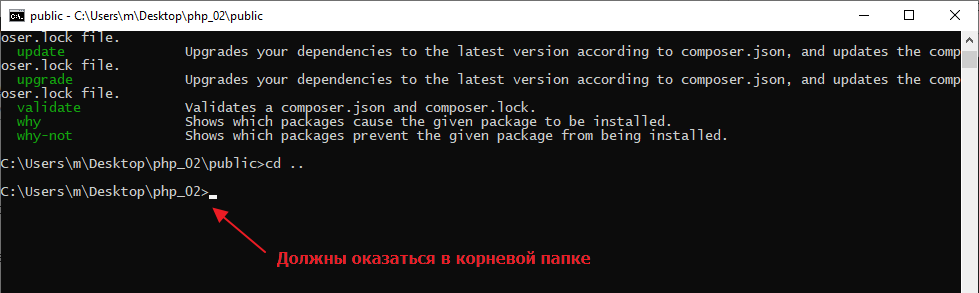
One thing is important here: since composer places packages in the current folder by default, for security reasons, you must exit the public folder if your path ends with public

Then run the following command to go up one level:
cd ..
Now go to the twig website https://twig.symfony.com/doc/3.x/intro.html#installation and see how to install twig correctly.
Here’s what it says:

That is, you need to enter the command.
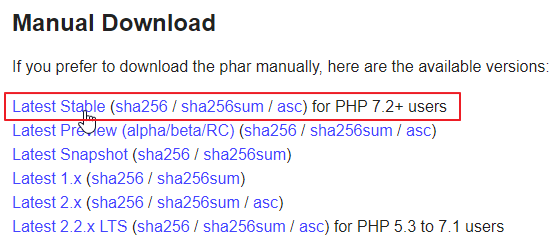
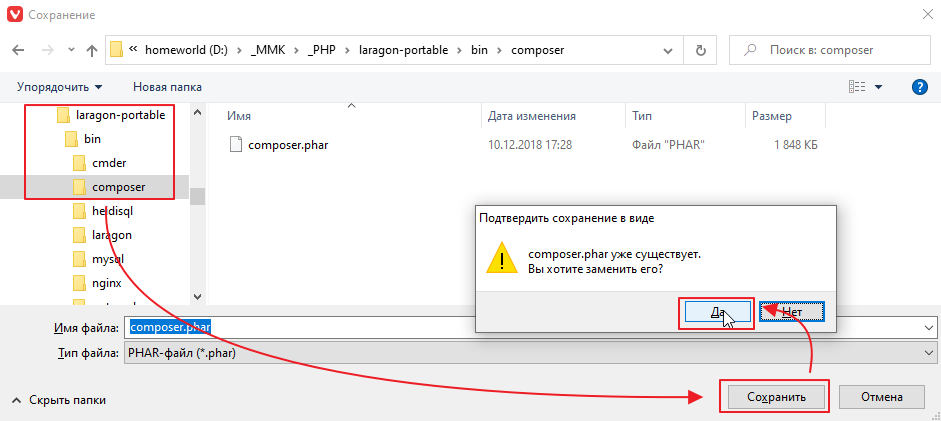
Unfortunately, the version of Composer that comes with Laragon is outdated, so you will have to update it. Go to the website https://getcomposer.org/download/, scroll down, download the latest version, and save it to the laragon-portable\bin\composer folder.
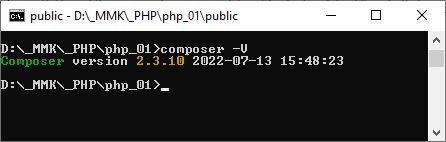
After downloading, check the version in the Laragon console
composer -V
It should display a more or less current date
Now you can try running the installation command.
composer require “twig/twig:^3.0”
However, the internet at the polytechnic works through a proxy, so you first need to configure the proxy in the console. To do this, first enter the command to set the environment variable, and then the installation command.
set http_proxy=172.27.100.5:4444
composer require “twig/twig:^3.0”
and wait for it to install
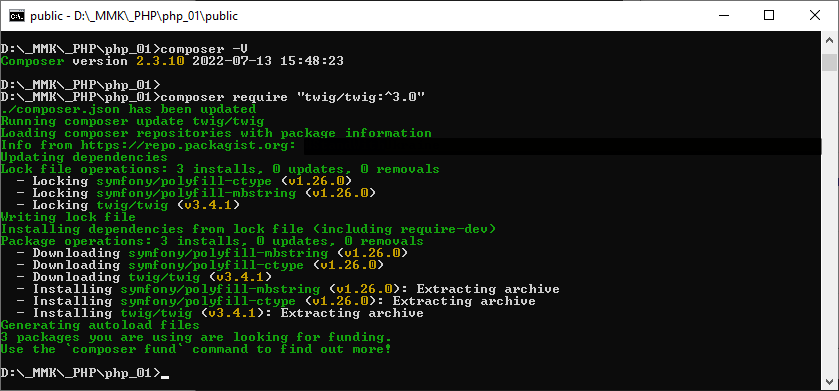
and see what we have in the folder
Now let’s try using twig.
Open index.php and write
<?php

// connect the packages that were installed via composer
require_once ‘../vendor/autoload.php’;

// create a template loader and specify the folder with templates
// \Twig\Loader\FilesystemLoader -- it's like writing Twig.Loader.FilesystemLoader in C#,
// only with a slash instead of dots
$loader = new \Twig\Loader\FilesystemLoader(‘../views’);

// create an instance of Twig that will be used for rendering
$twig = new \Twig\Environment($loader);

$url = $_SERVER[“REQUEST_URI”];

// ..
By the way, if class names are highlighted in red, install the PHP Intelephense plugin.
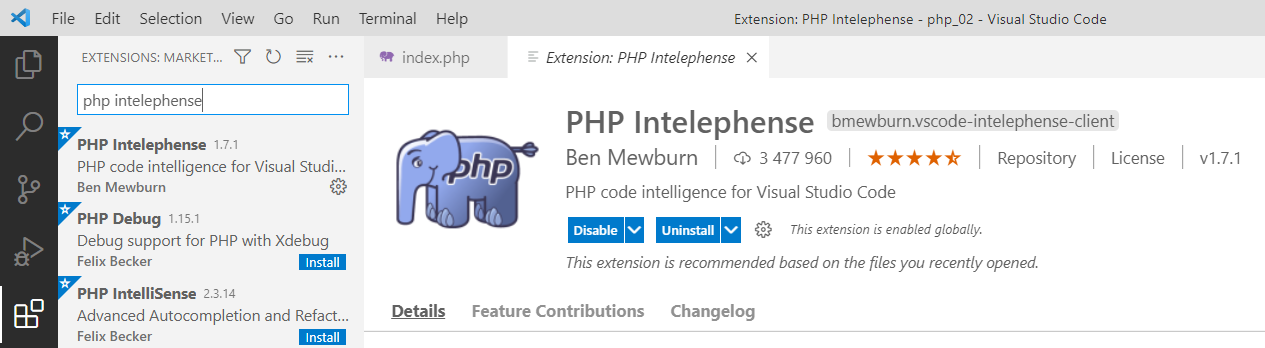
After installation, close and reopen Studio so that it picks up the Twig classes.
Rendering with twig
The general idea is that instead of connecting files with require, we will call twig commands, and it will render the files for us. This is done as follows:
<?php

// ...

$url = $_SERVER[“REQUEST_URI”];

if ($url == “/”) {
    // remove this require “../views/main.html”;

    echo $twig->render(“main.html”);
} elseif (preg_match(“#/mermaid#”, $url)) {
    // and this too require “../views/mermaid.html”;

    echo $twig->render(“mermaid.html”);
} elseif (preg_match(“#/uranus#”, $url)) {
    // and this require “../views/uranus.html”;

    echo $twig->render(“uranus.html”);
}
No particular advantages are apparent yet, except that you don’t need to write ../views/.
You can try it out to see how it works. In theory, it should work as usual:
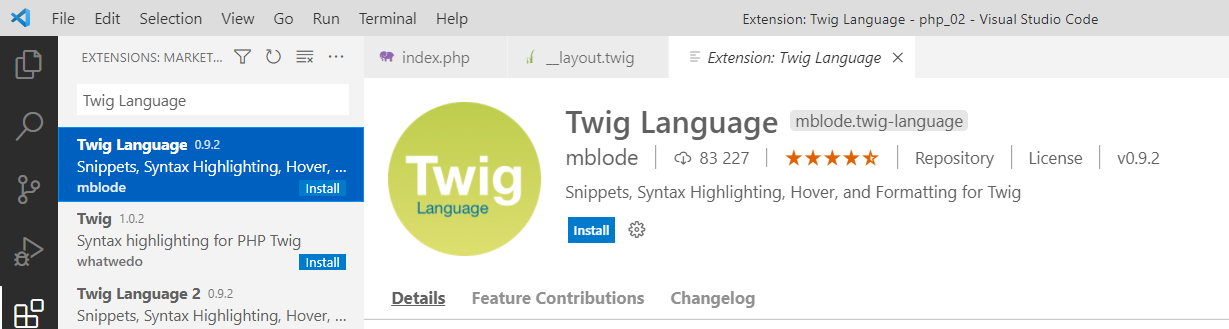
Let’s immediately install a plugin for working with twig.
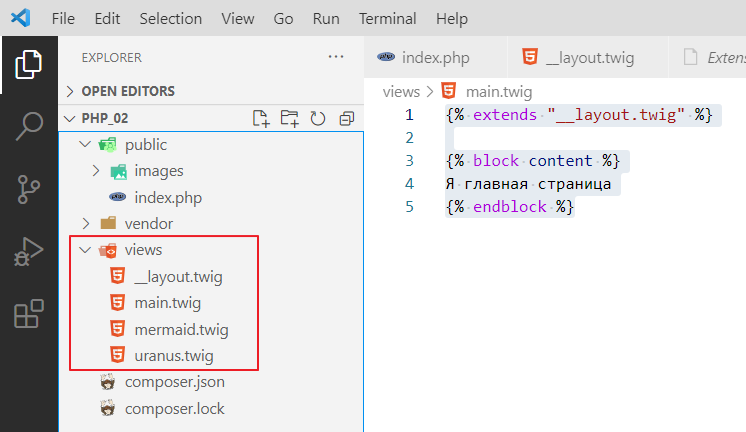
Now, let’s make a basic layout template and call it __layout.twig.
Let’s put the standard HTML markup there (using ! + Tab).
<!DOCTYPE html>
<html lang="en">
<head>
    <meta charset="UTF-8">
    <meta http-equiv=“X-UA-Compatible” content="IE=edge">
    <meta name="viewport" content="width=device-width, initial-scale=1.0">
    <title>Document</title>
</head>
<body>
    <!-- but with a small edit, this will be the place for individual page code -->
    {% block content %}
        emptiness
    {% endblock %}
</body>
</html>
Now let’s apply this template to our pages. First, go to main.html and make the following changes:
{% extends “__layout.twig” %}

<a href="/mermaid">Mermaid</a>
<a href="/uranus">Uranus</a>
Let’s check:
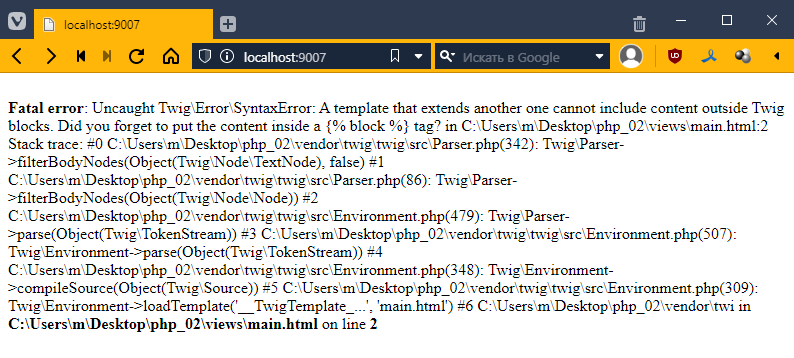
We get an error saying that our markup in main.html is outside of a block defined in the template. Let’s put it in like this:
{% extends “__layout.twig” %}

{% block content %}
<a href="/mermaid">Mermaid</a>
<a href="/uranus">Uranus</a>
{% endblock %}
Now it renders.
But it’s still not impressive… What’s the big deal?
Patience, my friend! =O
Now let’s do the same with the other files, with mermaid.html
{% extends “__layout.twig” %}

{% block content %}
<img src="/images/mermaid.jpg" style="width: 300px;"/>
{% endblock %}
and uranus.html
{% extends “__layout.twig” %}

{% block content %}
<img src="/images/uranus.png" style="width: 300px;"/>
{% endblock %}
Now let’s work some magic and add navigation to our base template:
<!DOCTYPE html>
<html lang="en">
<head>
    <meta charset="UTF-8">
    <meta http-equiv="X-UA-Compatible" content="IE=edge">
    <meta name="viewport" content="width=device-width, initial-scale=1.0">
    <title>Document</title>
</head>
<body>
    <div><!-- добавил -->
        <a href="/mermaid">Русалка</a>
        <a href="/uranus">Уран</a>
    </div>
    {% block content %}
        пустота
    {% endblock %}
</body>
</html>
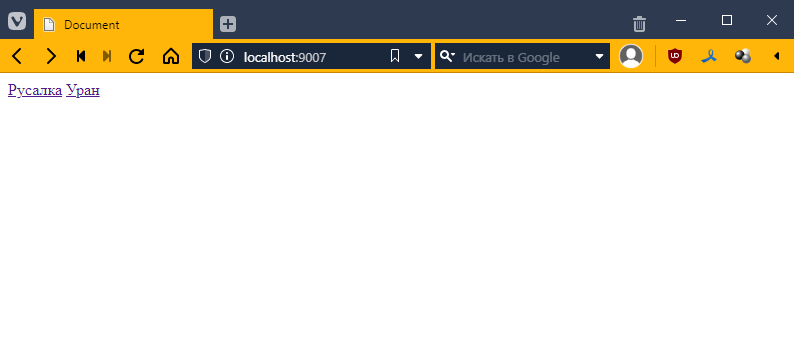
checking:
Ooh! The menu is now everywhere, even twice on the main page. Let’s write something there:
{% extends “__layout.twig” %}

{% block content %}
I am the main page
{% endblock %}
And in the template, let’s add a link to the main page
<div>
    <a href="/">Home</a> <!-- added -->
    <a href="/mermaid">Mermaid</a>
    <a href="/uranus">Uranus</a>
</div>
{% block content %}
    emptiness
{% endblock %}
Oh, like this:
Passing data to the template
Before we do anything, let’s rename our templates to twig format so that the plugin for Twig works properly
and change the following in index.php:
$url = $_SERVER[“REQUEST_URI”];

if ($url == “/”) {
    echo $twig->render(“main.twig”);
} elseif (preg_match(“#/mermaid#”, $url)) {
    echo $twig->render(“mermaid.twig”);
} elseif (preg_match(“#/uranus#”, $url)) {
    echo $twig->render(“uranus.twig”);
}
We can pass data to any template in the form of a dictionary. For example, our page is always called Document
Let’s pass the page name to our router (I call our if statements that decide which template to render a router)
if ($url == “/”) {
    echo $twig->render(“main.twig”, [
        “title” => ‘Home’ // in square brackets, we create a dictionary with the key title and the value “Home”
    ]);
} elseif (preg_match(“#/mermaid#”, $url)) {
    echo $twig->render(“mermaid.twig”, [
        “title” => “Mermaid”
    ]);
} elseif (preg_match(“#/uranus#”, $url)) {
    echo $twig->render(“uranus.twig”, [
        “title” => “Uranus”
    ]);
}
Now let’s connect this value in the template. Go to __layout.twig and instead of Document, insert:
<!DOCTYPE html>
<html lang="en">
<head>
    <meta charset="UTF-8">
    <meta http-equiv=“X-UA-Compatible” content="IE=edge">
    <meta name="viewport" content="width=device-width, initial-scale=1.0">
    <title>{{ title }}</title> <!-- replaced Document with {{ title }}-->
</head>
<body>
   <!-- ... -->
That is, in double curly brackets, we specify the key value that we would like to display.
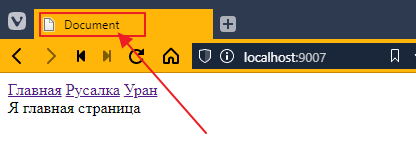
Let’s look at the tab title.
Beautiful! =)
In general, we now have a lot of copy-paste in index.html, so let’s refactor our code a little:
// ...
$url = $_SERVER[“REQUEST_URI”];

// added two variables
$title = “”;
$template = “”;

// now I just fill in the values of the variables
if ($url == “/”) {
    $title = “Home”;
    $template = “main.twig”;
} elseif (preg_match(“#/mermaid#”, $url)) {
    $title = “Mermaid”;
    $template = “mermaid.twig”;
} elseif (preg_match(“#/uranus#”, $url)) {
    $title = “Uranus”;
    $template = “uranus.twig”;
}

// rendering is done once based on the filled variables
echo $twig->render($template, [
    “title” => $title
]);
Summarizing pages with images
Now let’s look at pages with images. They are basically no different, except for the image address. So let’s make one template for images:
The only question is what to write in the address?
In general, you can create a variable for the image, like this:
$title = “”;
$template = “”;
$image = “”; // added a variable

if ($url == “/”) {
    $title = “Home”;
    $template = “main.twig”;
} elseif (preg_match(“#/mermaid#”, $url)) {
    $title = “Mermaid”;
    $template = “base_image.twig”; // now we use the base_image template
    $image = “/images/mermaid.jpg”; // fill in
} elseif (preg_match(“#/uranus#”, $url)) {
    $title = “Uranus”;
    $template = “base_image.twig”; // base_image here too
    $image = “/images/uranus.png”; // fill in here too
}

echo $twig->render($template, [
    “title” => $title,
    “image” => $image, // pass
]);
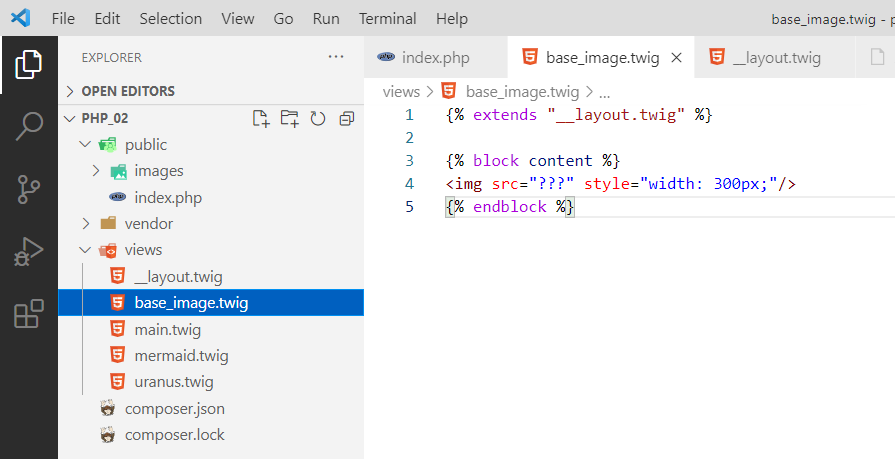
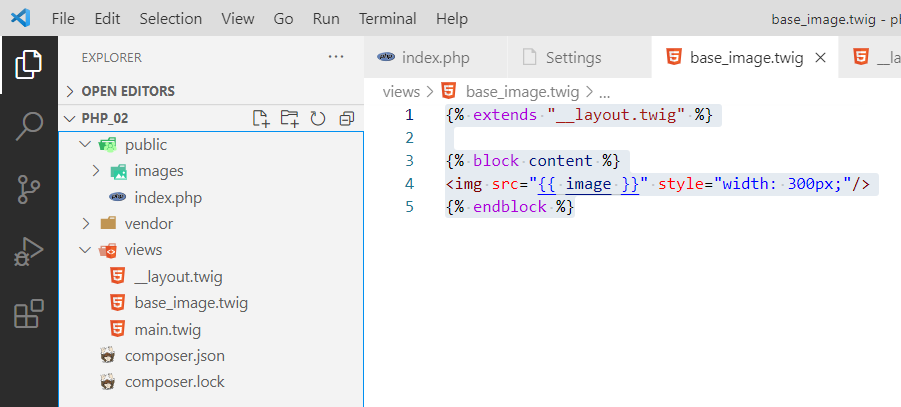
Now you can hook into the base_image.twig template:
{% extends “__layout.twig” %}

{% block content %}
<img src="{{ image }}" style="width: 300px;"/>
{% endblock %}
Let’s test it:
You can delete separate templates for the mermaid and uranium:
Everything seems to be OK, except that the image is also transferred to the main page, even though it is not needed there. This is not very good from an architectural point of view.
So let’s do it a little differently. We will create an empty dictionary that will be filled with the necessary key-values as needed, like this:
// ...
$url = $_SERVER[“REQUEST_URI”];

$title = “”;
$template = “”;
// $image = “”; remove

$context = []; // our dictionary, data for the template is commonly referred to as context

if ($url == “/”) {
    $title = “Home”;
    $template = “main.twig”;
} elseif (preg_match(“#/mermaid#”, $url)) {
    $title = “Mermaid”;
    $template = “base_image.twig”;

    $context[‘image’] = “/images/mermaid.jpg”; // pass the image key to the context
} elseif (preg_match(“#/uranus#”, $url)) {
    $title = “Uranus”;
    $template = “base_image.twig”;

    $context[‘image’] = “/images/uranus.png”; // and here we pass the image key to the context
}

// I don't put the name in the context in the router,
// because it's a separate entity, common to all
$context[‘title’] = $title;

// and then I render it
echo $twig->render($template, $context);
Isn’t that wonderful! =)